

Makeup for Mature Skin: How to Create a Smooth, Fresh-Looking Finish Without Heavy Layers

Your foundation shade still matches. Your application routine has barely changed. Yet lately, the same makeup seems to collect around your mouth, emphasize dry patches, or look heavier by lunchtime.
That can be frustrating, especially when adding concealer or powder makes the finish less comfortable. Makeup for mature skin often benefits from adjusting placement and quantity before replacing an entire routine. The aim is an even, fresh-looking complexion that moves with your face, with room for real skin texture.
Mature Skin Is Not One Skin Type
“Mature skin” does not describe a single set of needs or a fixed age. Your cheeks may feel dry while your nose becomes shiny. You might want coverage for uneven pigmentation but prefer almost no foundation elsewhere. Some people enjoy a matte finish; others prefer a soft sheen.
Choose your approach around what your skin is doing today. There is no universal rule that mature skin must avoid powder, wear only cream products, or give up shimmer. Formula, amount, placement, and personal preference all matter.
Why Makeup Can Start Looking Heavy
Sometimes the issue is visible product buildup rather than insufficient coverage. Foundation, concealer, cream color, and powder can overlap in the same small areas, especially around the nose, mouth, and eyes. Adding another layer may disguise discoloration while making texture more noticeable.
Dryness can also affect the appearance of makeup. Moisturizer can temporarily soften the appearance of some fine lines, but neither skincare preparation nor foundation can erase the folds created by facial movement. The American Academy of Dermatology explains the role of moisturizing in reducing the appearance of some fine lines.
Start With the Concern You Actually See
| What you notice | Adjustment to try | What to avoid |
|---|---|---|
| Foundation catches on dry patches | Revisit moisturizing and apply less makeup over the area | Scrubbing the patch immediately before makeup |
| Concealer gathers in fine lines | Use less and place it only where discoloration needs coverage | Adding more concealer over existing buildup |
| Makeup looks heavy around the mouth | Blend with the product remaining on your tool | Applying a full additional layer to an expressive area |
| The nose becomes shiny but cheeks feel dry | Powder the shiny areas selectively | Treating the whole face as one skin type |
| Dark spots remain visible through foundation | Add precise spot concealing | Increasing foundation coverage everywhere |
| Makeup separates during the day | Check preparation, layering, and application amount | Assuming more powder will repair separation |

Step 1: Prepare for Comfort
Use familiar, gentle skincare and give moisturizer time to settle before applying makeup. If your skin is dry, a fragrance-free cream may be more comfortable than a lightweight lotion. The AAD’s dry-skin guidance recommends fragrance-free products and notes that creams and ointments can be more effective than lotions for relieving dryness.
That does not mean you need a thick layer of ointment under foundation. Adjust the amount to your skin and check whether the surface feels comfortable rather than excessively slippery. For daytime, apply broad-spectrum SPF 30 or higher as directed before makeup; sun protection remains important at every age. AAD guidance for skin in your 60s and 70s includes this recommendation.
Step 2: Make Primer Optional
Primer can be useful when it addresses a specific issue you have noticed, but it is not a requirement. Try a small amount in the relevant area rather than automatically layering it across your entire face.
If products roll into little pieces during application, simplify your preparation and check application amounts. Pilling can involve the combination of formulas, layering, and rubbing; it is not reliably explained by a simple “water-based versus silicone-based” rule. Test one change at a time so you can identify what helps.
Step 3: Apply Foundation Where You Want Evenness
Start with a small amount around areas of uneven tone and blend outward. Use what remains on your brush or sponge near the hairline, jaw, and mouth rather than adding fresh product everywhere. Check the result before deciding whether you need another layer.
Light coverage is an option, not an obligation. If you enjoy fuller coverage, build it gradually and selectively. A more pigmented formula applied sparingly may suit you better than repeatedly layering a sheer one. Shade match matters, too: check along the jaw in daylight, and avoid choosing a noticeably lighter foundation in the hope of creating brightness.

Step 4: Separate Under-Eye Concealing From Spot Coverage
Under the eyes, place a small amount of concealer where you see discoloration rather than automatically covering the entire area with a large triangle. Blend the edges gently. If darkness is partly a shadow from the shape of the under-eye area, adding more opaque product will not necessarily remove it.
For individual dark spots, use a small brush to place concealer precisely, then soften the edge without wiping away the center. A color corrector is optional when discoloration remains visible, but it adds another layer, so begin sparingly. Aim for a balance you like rather than chasing complete coverage at the expense of comfort.

Step 5: Add Color Without Disturbing Your Base
Blush can bring color back after foundation evens the complexion. Cream and powder formulas can both work; choose whichever you find easier to control. Apply gradually and blend with light pressure so you do not lift the foundation underneath.
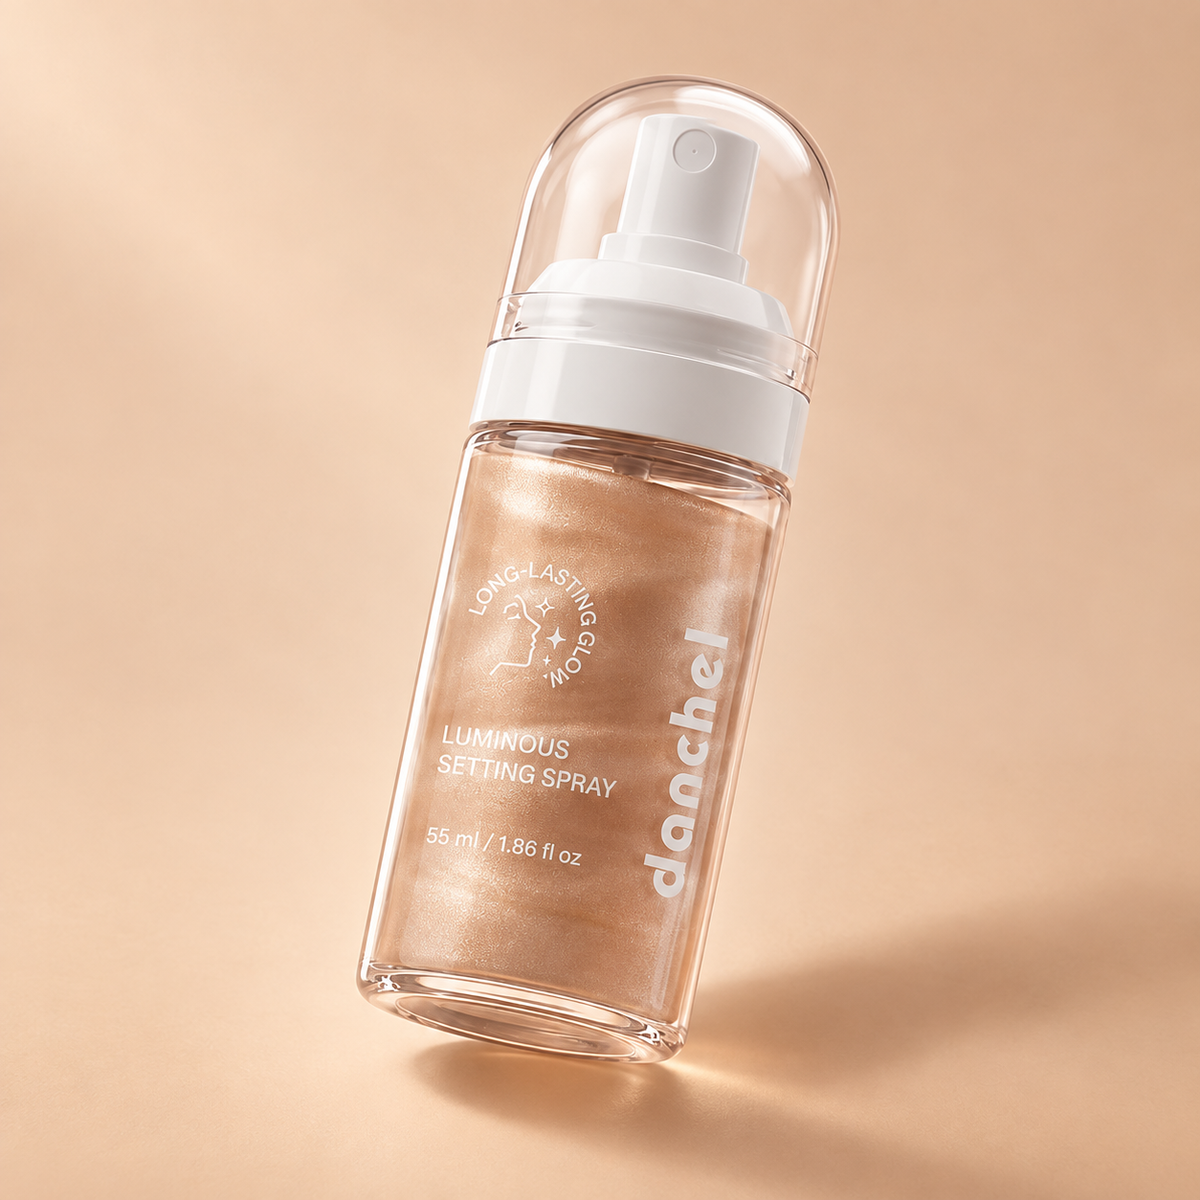
Check placement while looking straight ahead with your face relaxed. There is no single blush position that suits everyone. For glow, try a subtle satin finish in a small area first. Strong shimmer makes reflected light more noticeable and may also draw attention to texture, but that is a styling choice, not an age restriction.
Step 6: Set Selectively
Use a small amount of setting powder where makeup moves or shine becomes distracting. That may be around the nose, on the center of the forehead, or beneath the eyes. Dry cheeks may need little or none.
Before powdering, gently smooth any foundation or concealer that has gathered in a line. Press or lightly sweep powder into place without repeatedly working the same area. Neither loose nor pressed powder is automatically better for mature skin; the finish and amount matter more than the format. Check a “translucent” shade on your complexion rather than assuming it will be invisible.
Step 7: Use Setting Spray With Realistic Expectations
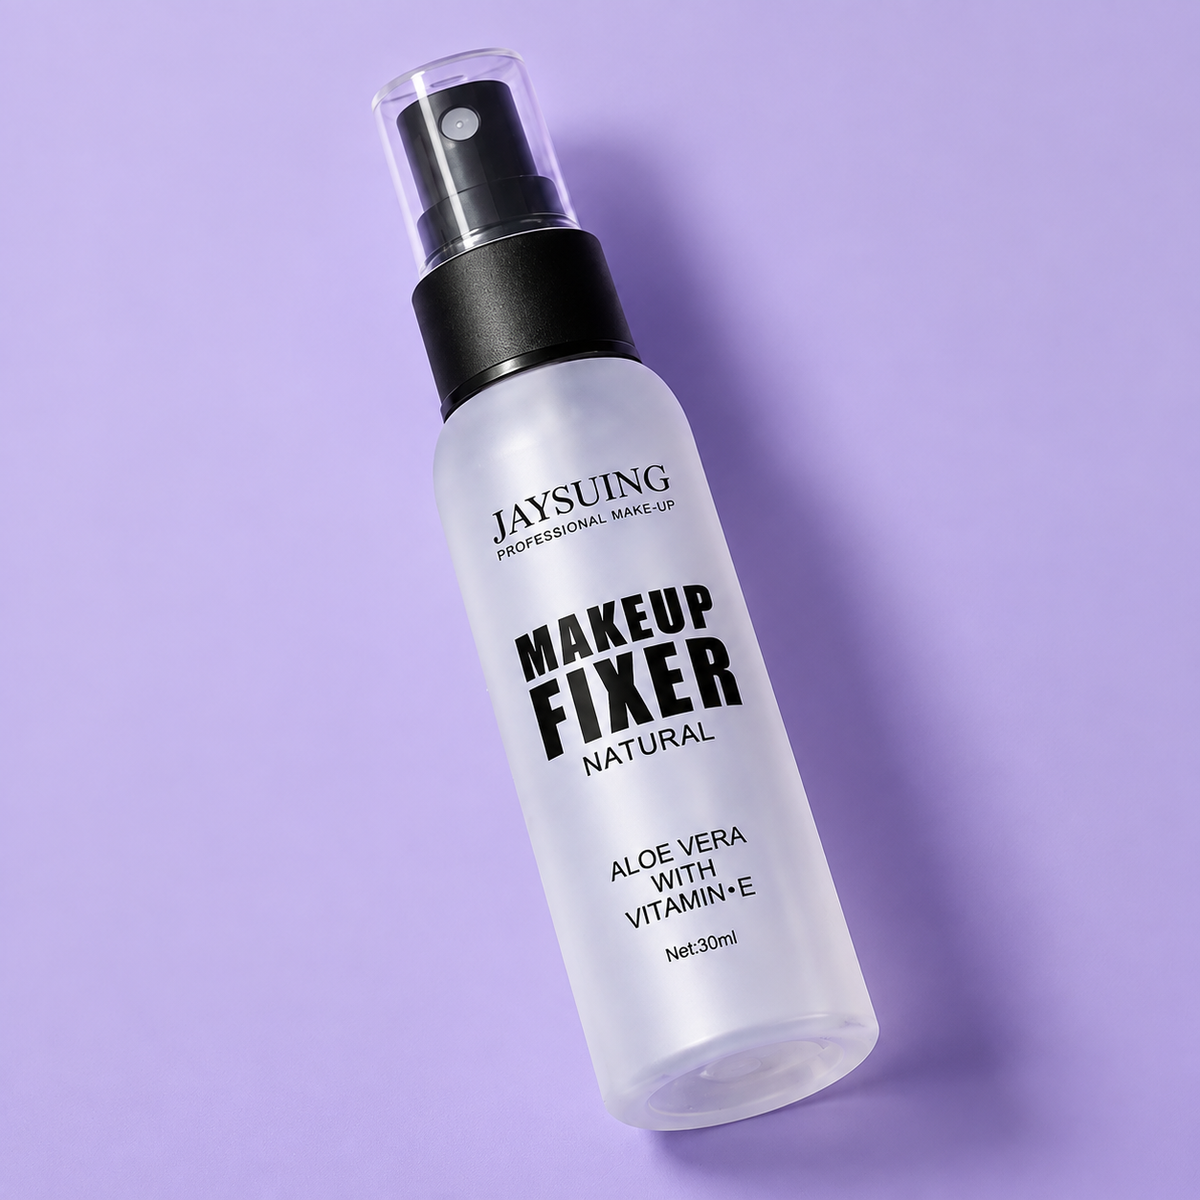
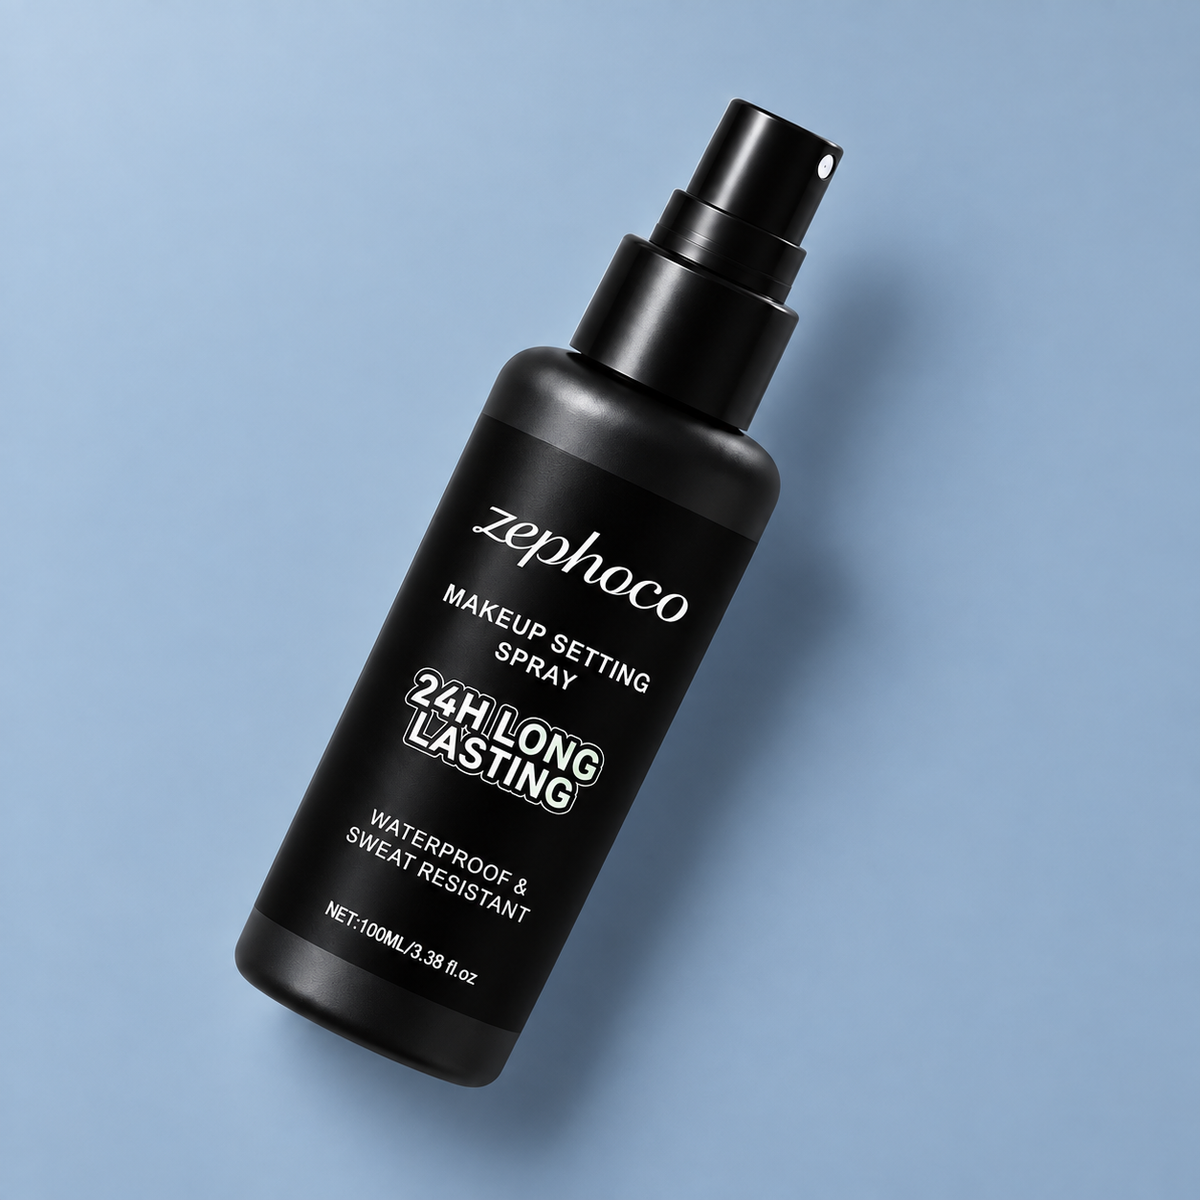
A setting spray may help makeup wear or make a powdery finish look less noticeable, depending on its formula. A hydrating mist, however, is not necessarily designed to improve hold. Neither can remove excess foundation or permanently prevent creasing.
Follow the label for application distance and amount. Close your eyes and mouth, avoid inhaling the mist, and let it dry without touching your face. If your makeup already looks comfortable and wears well, you do not need to add this step.

Keep Eyes and Lips as Simple or Expressive as You Like
Softly blended liner, defined lashes, and a little brow shaping can complement a lightweight base without requiring a complicated routine. For lips, apply a comfortable color in thin layers and use liner if you want a clearer edge. Remove excess balm before lipstick if it makes the color slide.
There is no need to abandon a favorite bold lip or shimmering shadow. Focus on whether the product applies comfortably and wears the way you want, rather than following rules about which finishes are “allowed” at a particular age.
How to Refresh Makeup Without Adding Weight
Before touching up, identify the issue. For shine, blot gently before adding powder. For makeup gathered around a line, use a clean fingertip or barely damp sponge to lift or redistribute the excess with light pressure. If coverage has worn away, add a tiny amount only to that spot.
A patch that has become dry and flaky may respond better to removing makeup locally, moisturizing, and reapplying a small amount than to another layer of concealer. Avoid repeatedly misting or powdering your entire face to correct one small area.
Frequently Asked Questions
Is liquid foundation always better than powder foundation for mature skin? No. Some people prefer liquid formulas, while others find powder foundation comfortable and easy to control. Choose based on your skin, desired coverage, and how the formula looks after several hours.
Should mature skin always have a dewy finish? No. Satin, softly matte, and dewy finishes can all look fresh. You can also combine finishes, keeping the center of the face more matte and the cheeks softly luminous.
How can I stop concealer from creasing completely? Some movement is normal wherever skin folds. Smaller amounts, precise placement, and selective setting may reduce visible buildup, but no technique can guarantee a crease-free result all day.
Should I exfoliate before makeup to smooth my skin? Do not assume that more exfoliation will create a smoother base. Avoid scrubbing or introducing a strong exfoliant immediately before makeup, especially if your skin already feels dry or irritated.
Do I need makeup labeled specifically for mature skin? No. That label is not a guarantee of suitability. Your skin type, preferred finish, application technique, and experience wearing the formula are more useful guides.
A Fresh Finish Starts With Thoughtful Placement
You do not have to choose between coverage and makeup that feels like you. Start small, add coverage where it matters to you, and set only the areas that need it. A smooth-looking finish can still include freckles, fine lines, and the movement of a smile.