

Homecoming Makeup That Lasts: Natural Looks, Easy Ideas, and Setting Tips

Homecoming makeup has a busy schedule: getting-ready photos, outdoor pictures, dinner, and a dance floor that probably feels warmer than your bathroom did. You want your makeup to look polished, but you also want to enjoy the night without checking your foundation every twenty minutes.
A lasting look starts with manageable layers, familiar products, and a few strategic setting steps. No routine can promise completely unchanged makeup through sweat, eating, and touching your face. But you can make wear more predictable and keep touch-ups simple.
What Makes Homecoming Makeup Look Natural?
Natural-looking makeup does not have to mean barely visible makeup. You can wear shimmer, defined lashes, or a rich lip color while keeping the overall effect soft. Blend edges, choose coverage intentionally, and leave some of your skin visible if that feels comfortable.
“Natural” also looks different across skin tones. Pale pink and champagne are not universal defaults. Rose-brown, copper, bronze, plum, and berry can look equally understated when their depth and undertone suit you.

Four Easy Homecoming Makeup Ideas
| Look | Eyes | Cheeks and lips | Keep it simple |
|---|---|---|---|
| Soft rosy makeup | A sheer rose-brown or mauve shadow with defined lashes | Rose, pink-brown, or berry blush with a coordinating lip | Blend shadow edges rather than adding a complicated wing |
| Subtle pearl glow | Fine satin shimmer in pearl, champagne, gold, or bronze | Soft blush and a comfortable satin lip | Keep the strongest sheen on one area instead of everywhere |
| Warm neutral soft glam | Tan, caramel, or chocolate shadow with softly smudged liner | Peach, terracotta, or warm rose cheeks and lips | Use one main shadow and a little extra depth near the lashes |
| Simple eyes, statement lips | Minimal shadow, neat lashes, and optional thin liner | A red, berry, or plum lip with softly balanced blush | Let the lip color be the focus |
Choose the look you would feel happy wearing even without a photo. Your makeup can coordinate with your outfit through mood or undertone; it does not need to match your dress exactly. If you are new to makeup, one softly blended shadow and a familiar lip color are enough to make the look feel intentional.
Do a Trial Before Homecoming
Try your planned routine ahead of the event, especially if you are changing foundation, using shimmer, or experimenting with eyeliner. Wear it for several hours and check what happens around your nose, chin, eyelids, and mouth. This gives you more useful information than judging the look immediately after application.
Take a photo in daylight and another with the flash you expect to use. Check foundation shade, visible powder, and how reflective finishes photograph. Do not skip needed sun protection for outdoor photos to avoid possible flashback; test your complete routine instead. Leave complicated new techniques for another day if they make getting ready stressful.
Step 1: Prepare Your Skin Without Overloading It
Start with your usual gentle skincare and a moisturizer that feels comfortable. Allow it to settle before applying makeup. Avoid trying a strong exfoliant or unfamiliar treatment right before the event, and do not scrub at texture to make foundation look smoother.
If your skin is acne-prone, look for makeup labeled “non-comedogenic” or “won’t clog pores,” while remembering that individual reactions vary. Use clean tools and avoid picking at blemishes before application. The American Academy of Dermatology’s makeup guidance supports these choices for acne-prone skin.

Step 2: Build a Lightweight Base
Apply a small amount of foundation or skin tint, then step back and decide where you actually want more coverage. You may prefer concealer around the nose or over individual blemishes instead of a second layer across your whole face. Foundation is optional if spot concealer gives you the finish you want.
Blend around the jaw and hairline, and check the result in good lighting. For under-eyes, start with a small amount of concealer and avoid repeatedly adding more to chase every shadow. Real skin has texture and movement; a comfortable, even-looking base is a more useful goal than a completely textureless one.
Step 3: Add Color and Easy Eye Definition
Apply blush gradually so you can control the depth. If using cream blush, blend it before your final powder step unless the product directions suggest otherwise. A coordinated cheek and lip color can pull the look together without requiring more eye makeup.
For eyes, blend one main shadow over the lid and add a little depth near the outer lash line if desired. Curl bare lashes before mascara, then apply manageable coats. Use only cosmetics intended for the eye area, and do not substitute craft glitter for eye makeup. Avoid sharing mascara or eyeliner while getting ready with friends. See the FDA’s eye cosmetic safety guidance.
Step 4: Use Setting Powder Where You Need It
Setting powder can help reduce surface shine and set creamy makeup, but you do not have to cover your entire face. Use a small brush or puff to press a light amount onto areas that tend to become shiny or move, such as the sides of the nose, center of the forehead, or chin.
For dry skin, keep powder selective and leave comfortable areas alone. For combination skin, treat the T-zone differently from the cheeks. If concealer has gathered in a crease, gently smooth it before powdering rather than setting the crease in place. Start lightly: adding a little more later is easier than correcting a thick, powdery finish.

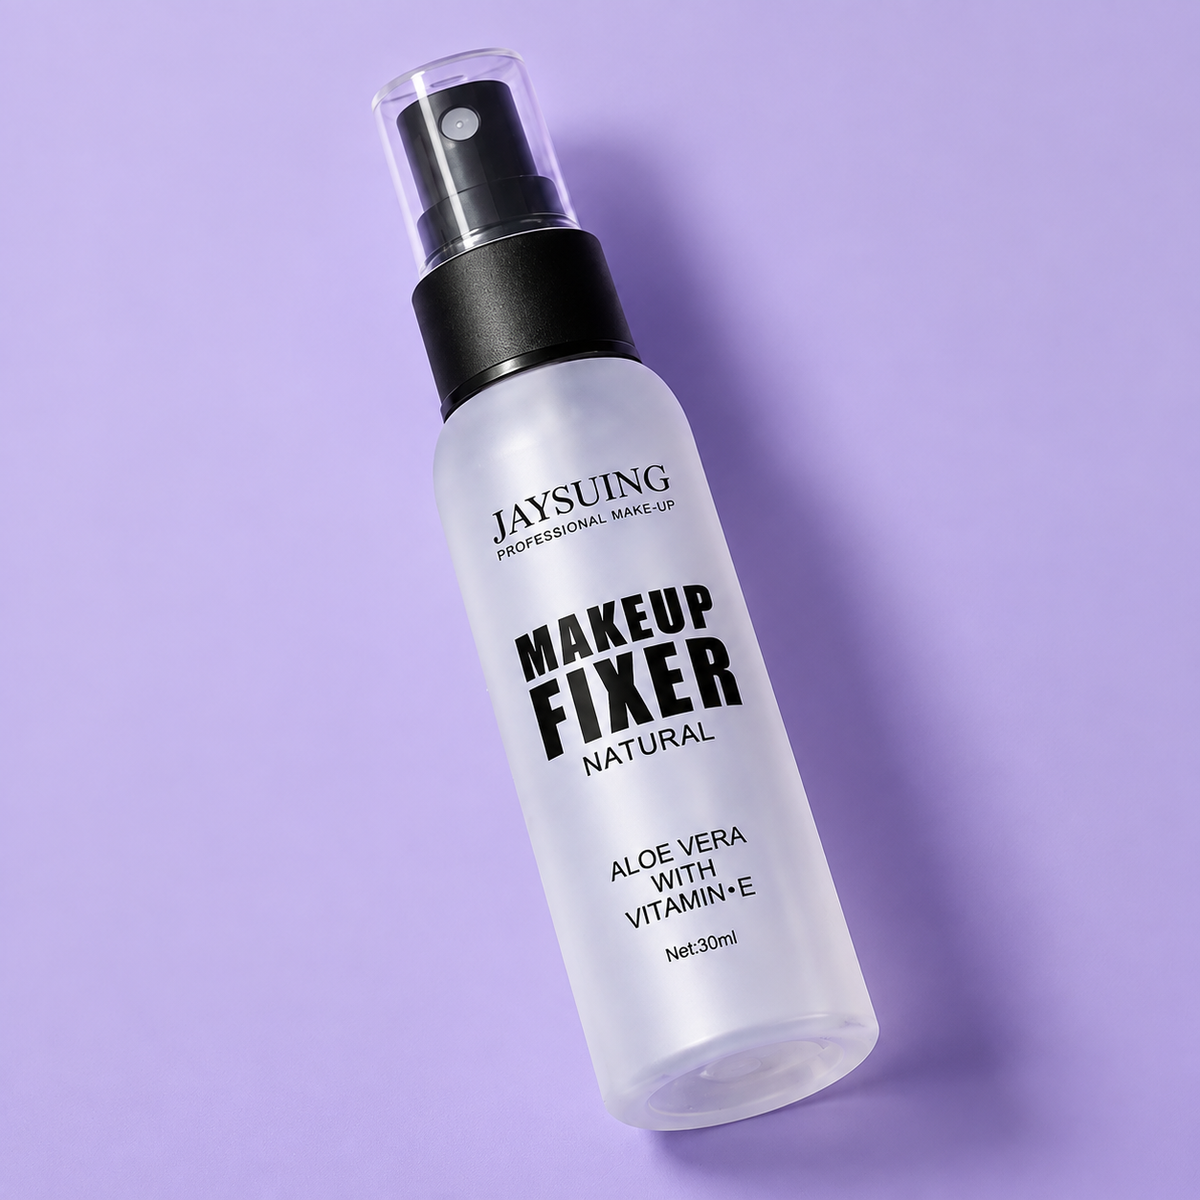
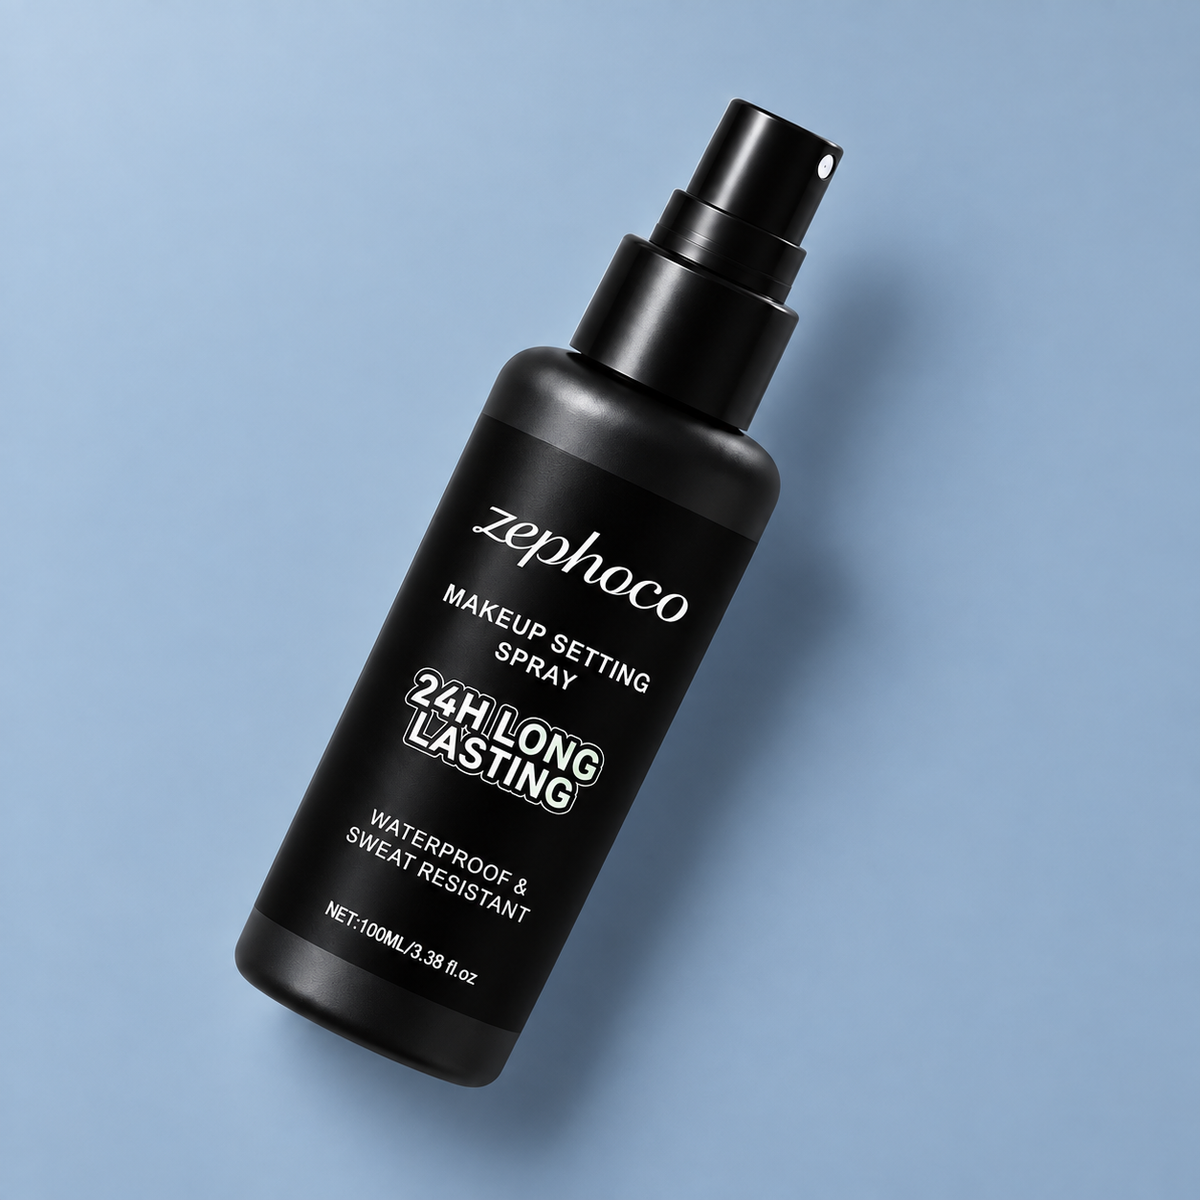
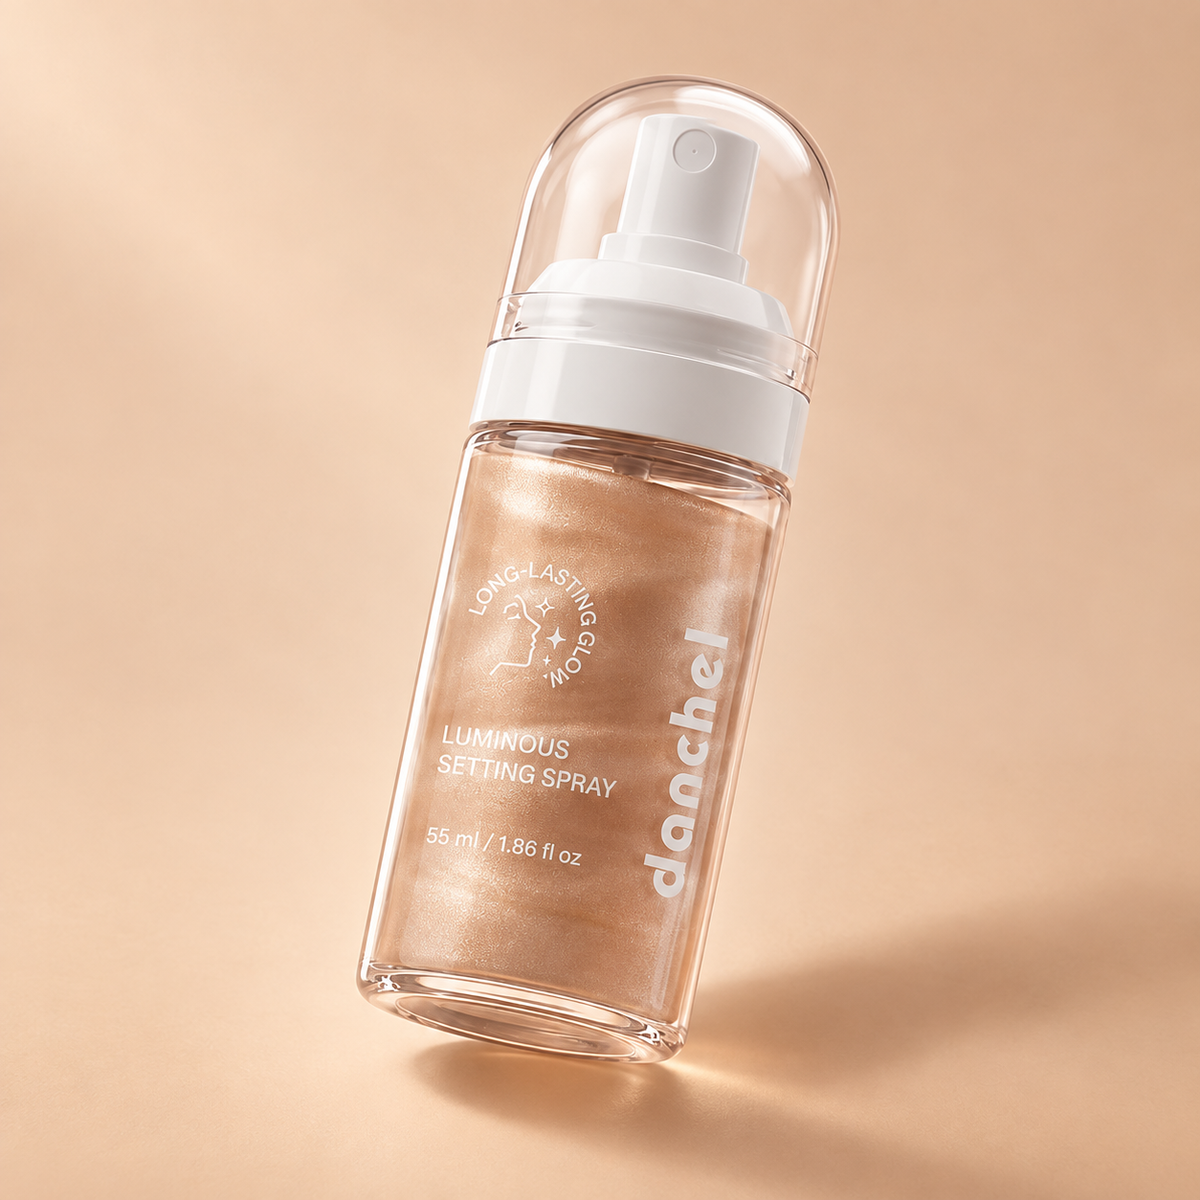
Step 5: Choose Setting Spray for the Job
A refreshing facial mist and a makeup-setting spray do not necessarily do the same thing. Some sprays mainly change how the finish looks or feels; others are formulated and marketed to improve makeup wear. A dewy finish does not automatically mean stronger hold, and a matte finish does not guarantee sweat resistance.
Follow the product’s directions for shaking, distance, and application amount. Close your eyes and mouth, avoid inhaling the mist, and let it dry without touching your face. Do not soak your makeup or assume extra layers will guarantee extra wear. Never use hairspray as a facial setting spray.
Step 6: Make Lip Touch-Ups Easy
Apply lip color in thin, even layers, and use liner if you like the extra definition. If you prefer gloss, keep in mind that it usually needs refreshing after eating. A familiar satin lipstick or tinted balm may be easier to maintain than a new formula you have not worn before.
Bring the lip product you actually used. A quick reapplication after dinner is normal, even with products marketed for long wear. Before adding more, check whether old color has collected around the edges and gently tidy it rather than layering over buildup.

How to Refresh Your Makeup at the Dance
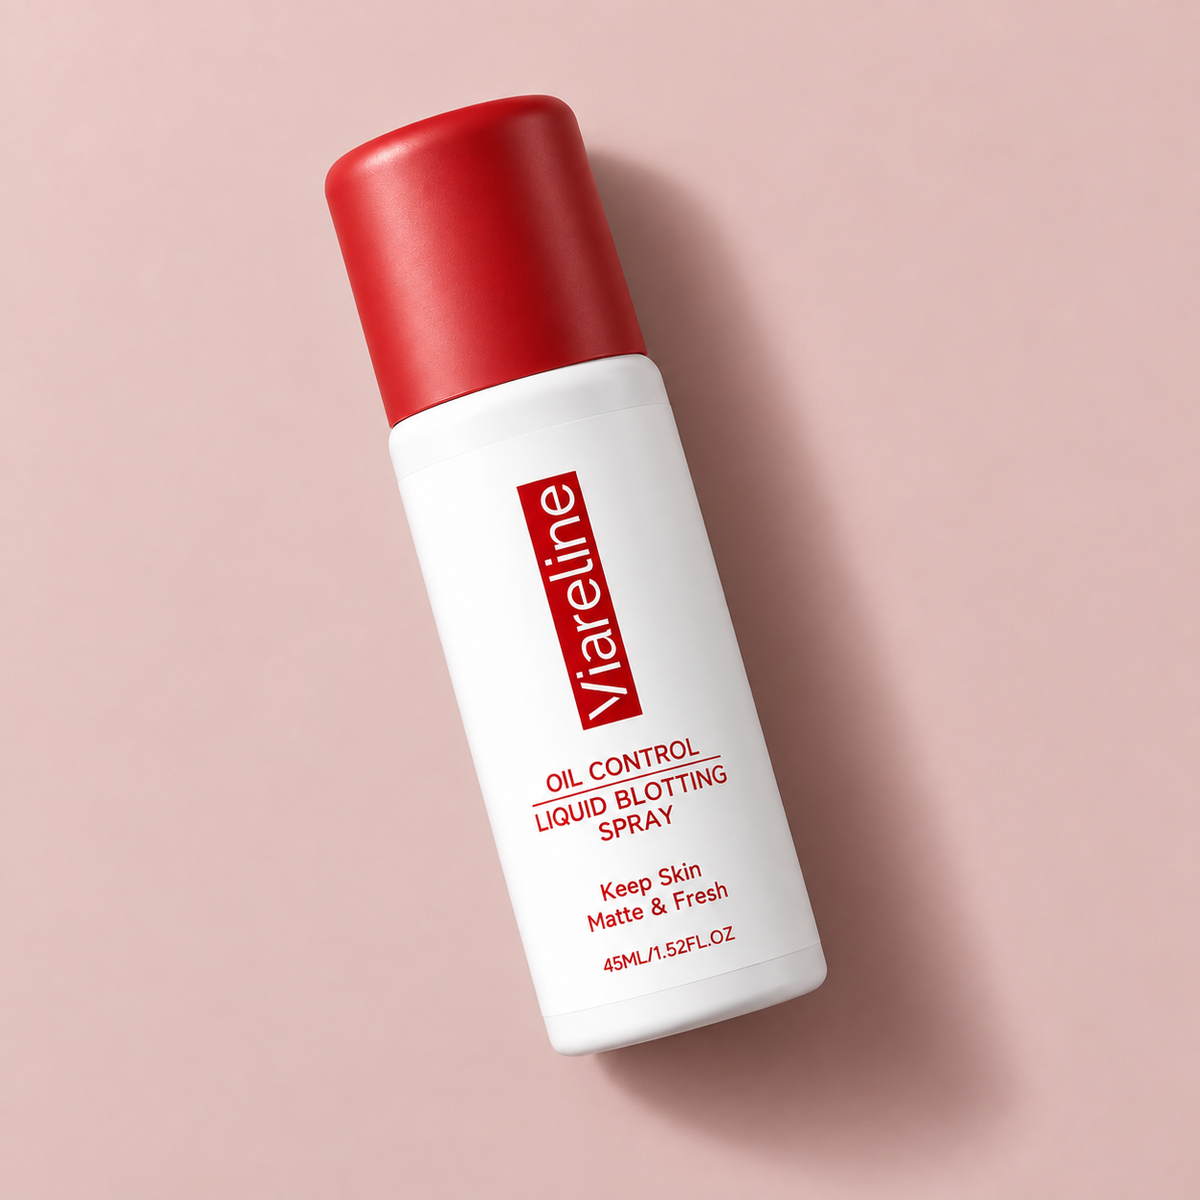
If you are warm or sweaty, give yourself a moment to cool down before correcting anything. Gently blot moisture with a clean tissue and lift excess oil with blotting paper. Press instead of rubbing, then decide whether powder is still necessary.
For a small patch of disturbed foundation, use a clean fingertip or sponge to soften the edge before adding a tiny amount of concealer if needed. Avoid recoating your whole face. Pack blotting papers, your lip color, a small mirror, and a little pressed powder with a clean applicator. That is usually more practical than carrying your entire routine.
Mistakes That Can Make Makeup Harder to Maintain
Common trouble spots include starting with too much foundation, powdering over sweat, repeatedly touching the face, and experimenting with several unfamiliar products at once. Heavy layers may look convincing in the getting-ready mirror but become harder to repair later.
At the end of the night, remove your makeup gently, including eye makeup, before going to sleep. Set out your cleanser and remover before you leave so cleanup is easy when you get home tired.
Frequently Asked Questions
Do I need both setting powder and setting spray? No. They can serve different purposes, and some routines benefit from both, but neither is compulsory. Choose based on your skin, your makeup, and what worked during your trial.
Can natural homecoming makeup last as well as full glam? A natural-looking routine can wear well. Coverage level alone does not determine longevity; formula, application, conditions, and contact all matter.
Should I bake my makeup for homecoming? Baking is optional, not a requirement for lasting makeup. A light, targeted powder application is often easier for beginners to manage, especially around dry or textured areas.
How can I reduce makeup transfer onto my outfit? Let skincare and makeup settle, avoid unnecessary product near collars, and limit rubbing against fabric. Setting products may help, but no routine guarantees transfer-free wear.
What is the easiest homecoming look for a beginner? Try spot concealer, softly blended blush, one neutral eyeshadow, mascara, and a comfortable lip color. Practice that sequence once beforehand, then add only the details you genuinely enjoy.
A Look You Can Enjoy Wearing
The best homecoming makeup leaves room for smiling, eating, dancing, and looking like yourself. Keep the layers comfortable, set the areas that need help, and expect an occasional touch-up. Once the photos are taken, you deserve to think about the night more than your makeup.